What is Drywall?
CALL: (734)-336-1145
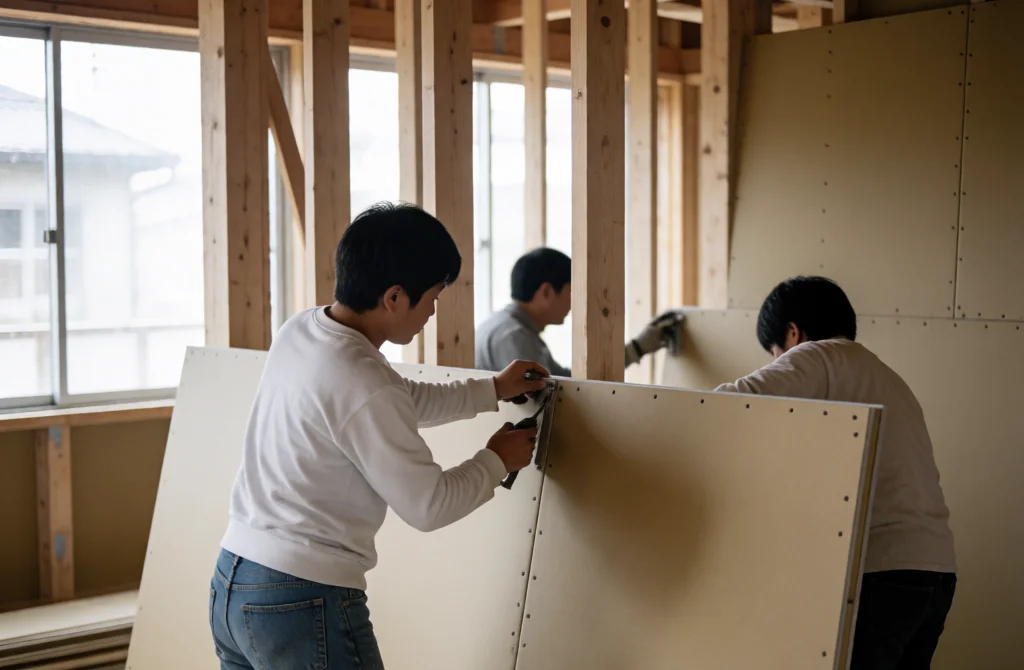
Imagine a giant, strong sheet made of plaster sandwiched between two thick pieces of paper. That’s pretty much what drywall is! It’s also called sheetrock. People use it to make the walls and ceilings in almost every building. It helps keep your house quiet, warm, and safe from fire. Learning how to drywall means you can make your home look amazing!
Drywall Tools and Materials You Need
Before you start any drywall installation or drywall repair, you’ll need some special gear. Think of them as your superhero tools for walls!
Here are some important drywall tools:
-
Drywall sheets (the big panels)
-
Utility knife (for cutting)
-
Tape measure (for measuring)
-
Pencil
-
Straight edge (a long, straight ruler)
-
Drywall screws (special screws)
-
Drill with a “dimpler” bit (makes screws go in just right)
-
Drywall rasp (like a cheese grater for edges)
-
Joint compound (also called “mud,” for filling gaps)
-
Drywall tape (paper or mesh tape)
-
Taping knives (like big spatulas for mud)
-
Sanding sponge or sandpaper (for making things smooth)
-
Safety glasses and a mask (to keep dust out of your eyes and nose)
These drywall tools will help you master how to drywall!
How to Hang Drywall (Putting Up New Walls)
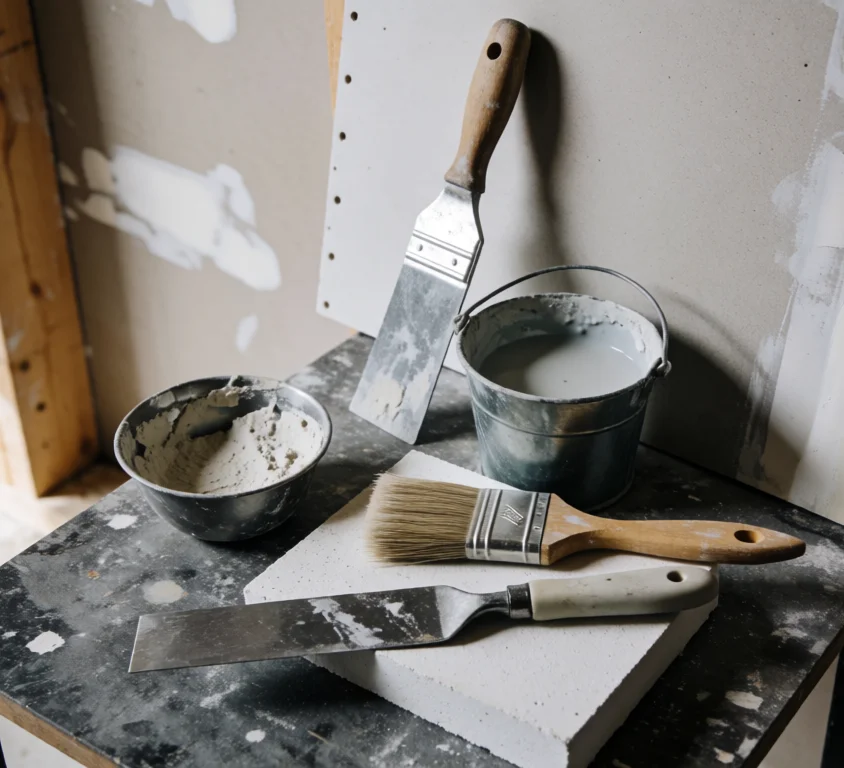
Hanging drywall is like putting up the main body of your wall. It’s the first big step in drywall installation.
-
Measure: First, measure your wall space. You want to know exactly how big each piece of drywall needs to be. Make sure your new drywall sheets are the same thickness as any old ones, like 1/2-inch or 3/8-inch.
-
Lift Help: Drywall can be heavy! For ceilings, a drywall lift is super helpful. For walls, a friend can help you hold it up.
-
Place It Right: Line up the drywall sheet so its edges are over the wood studs in your wall. This is where you’ll screw it in.
-
Screw It In: Once it’s in place, you’re ready to learn how to screw drywall to the wall!
How to Cut Drywall
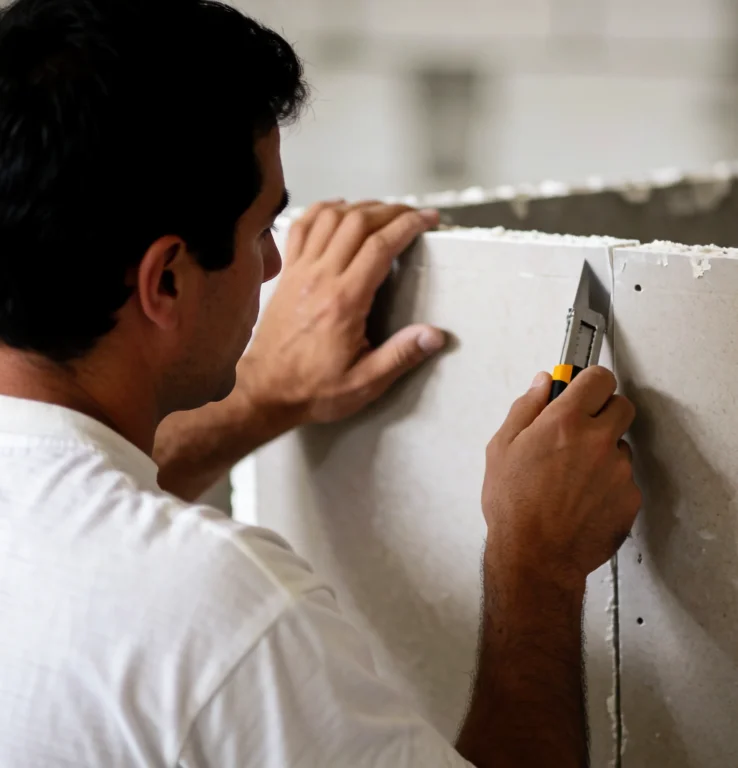
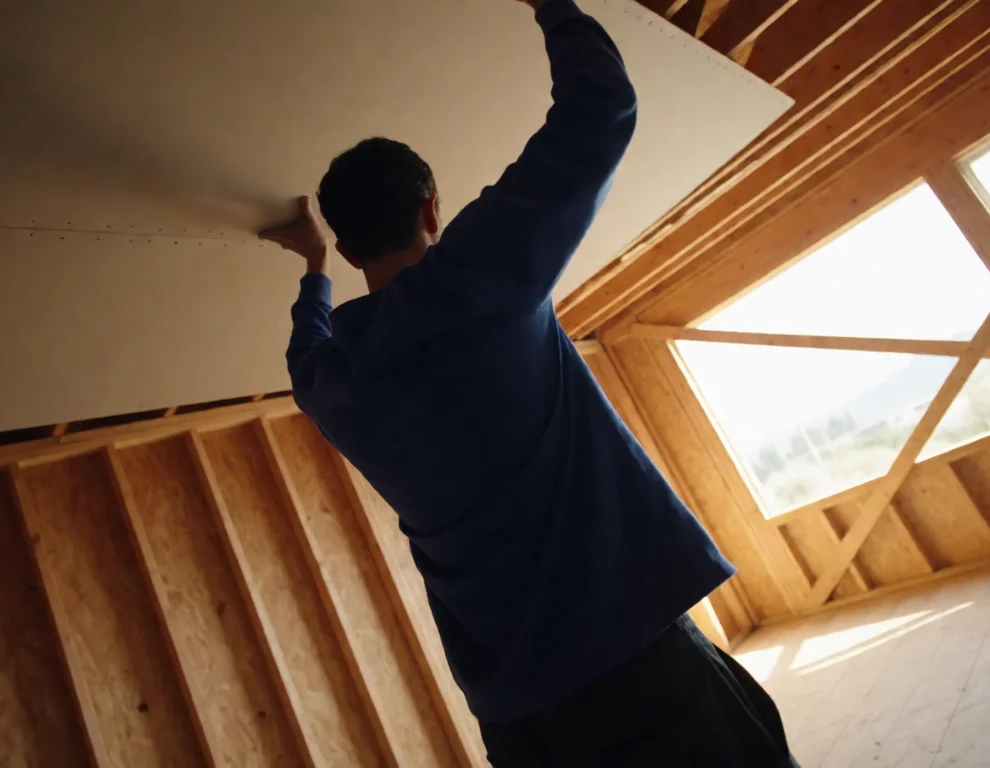
You won’t always need a whole sheet of drywall. Sometimes you need to cut it to fit, like around windows or doors. This is a key part of drywall installation.
-
Mark: Use your tape measure and pencil to mark where you need to cut on the front of the drywall.
-
Score: Place your straight edge along the line and use your utility knife to cut through the top paper layer and a little bit into the plaster. This is called “scoring.”
-
Snap: Flip the drywall over and give it a gentle “knee bump” or push along the scored line. It should snap cleanly.
-
Cut the Back: Now, cut the paper on the back side of the snap with your utility knife.
-
Trim: If the edge isn’t perfect, use your drywall rasp to smooth it out. For tricky shapes like outlets, you might need a special saw or the “paint trick” (dab paint on the obstacle, press drywall to it, then cut where the paint marks).
How to Patch Small Drywall Holes
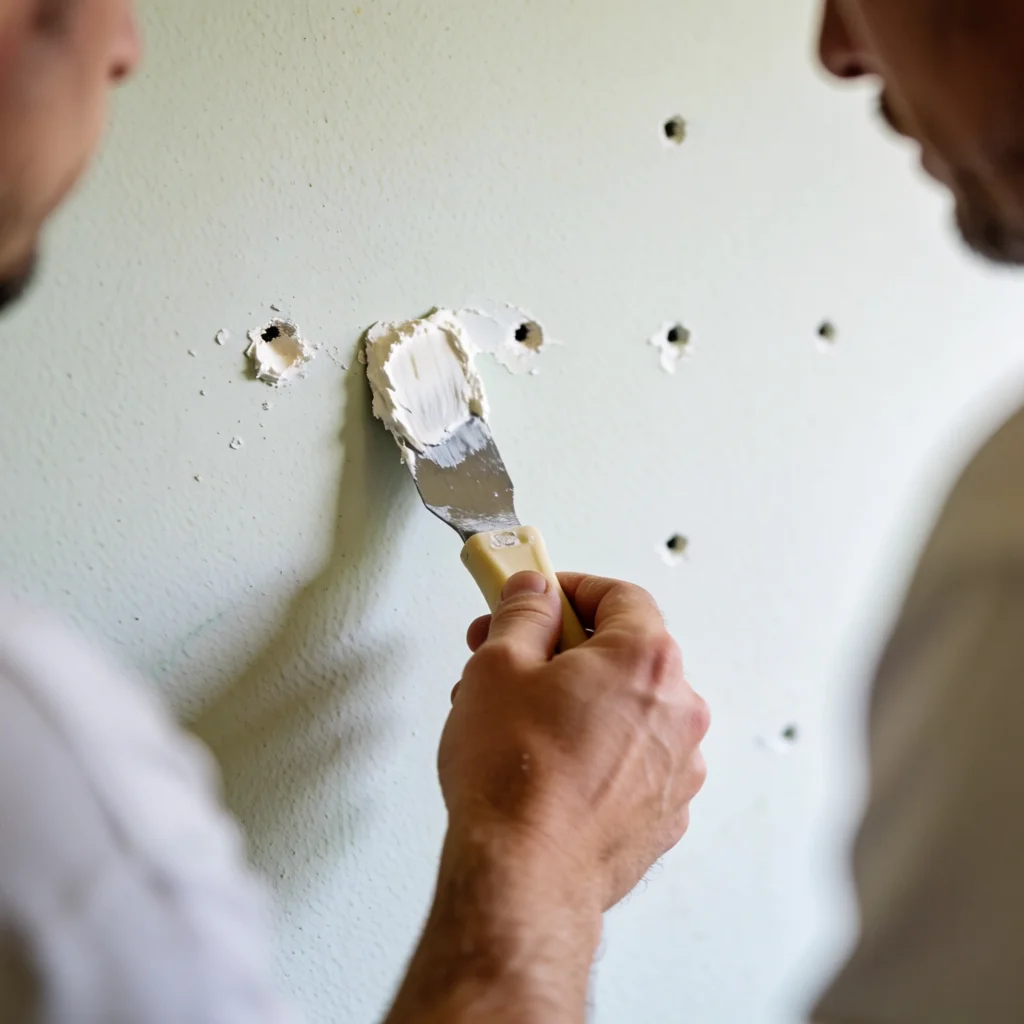
Oops! Did you take down a picture and leave a tiny hole? No worries, patching drywall is easy for small holes (like nail holes or holes smaller than a dime).
-
Clean Up: Lightly sand around the hole to make it smooth. Wipe away any dust.
-
Spackle Time: Take a small amount of spackle (it’s like thin mud) and push it into the hole.
-
Smooth It: Use a small putty knife or your finger to smooth the spackle flat with the wall. Don’t use too much!
-
Dry: Let it dry completely.
-
Sand Again: Once dry, lightly sand it until it’s super smooth. Now it’s ready for paint! This quick drywall repairmakes a big difference.
How to Patch Bigger Drywall Holes
For holes bigger than a dime but smaller than a baseball (around 1/2 inch to 3 inches), you need a bit more help for patching drywall.
-
Prep: Sand around the hole to remove loose bits. Wipe away dust.
-
Mesh Patch: Get a self-adhesive mesh patch. It’s like a sticky screen. Cut it so it’s about an inch bigger than the hole all around.
-
Stick It: Peel off the backing and stick the mesh patch over the hole, making sure it’s centered.
-
Mud It Up: Use a joint knife to spread a thin layer of joint compound over the mesh patch. Make it a bit thicker over the middle and thinner at the edges so it blends in.
-
Dry & Sand: Let it dry, then sand it smooth. If you can still see the patch, add another thin layer of mud, dry, and sand again. This helps with drywall finishing.
For really big holes (like a kicked-in wall), you might need to cut a square around the hole, add small wood pieces behind the wall for support, and then screw a new piece of drywall into those wood pieces. Then you’d mud and tape the edges like a new wall! This is often called a “California patch.”
How to Mud and Tape Drywall
This is where the magic happens and your wall becomes one smooth surface! This is also called drywall finishing.
-
First Mud Coat: Put a thin layer of joint compound over all the screw dimples and where two drywall sheets meet (the “seams”).
-
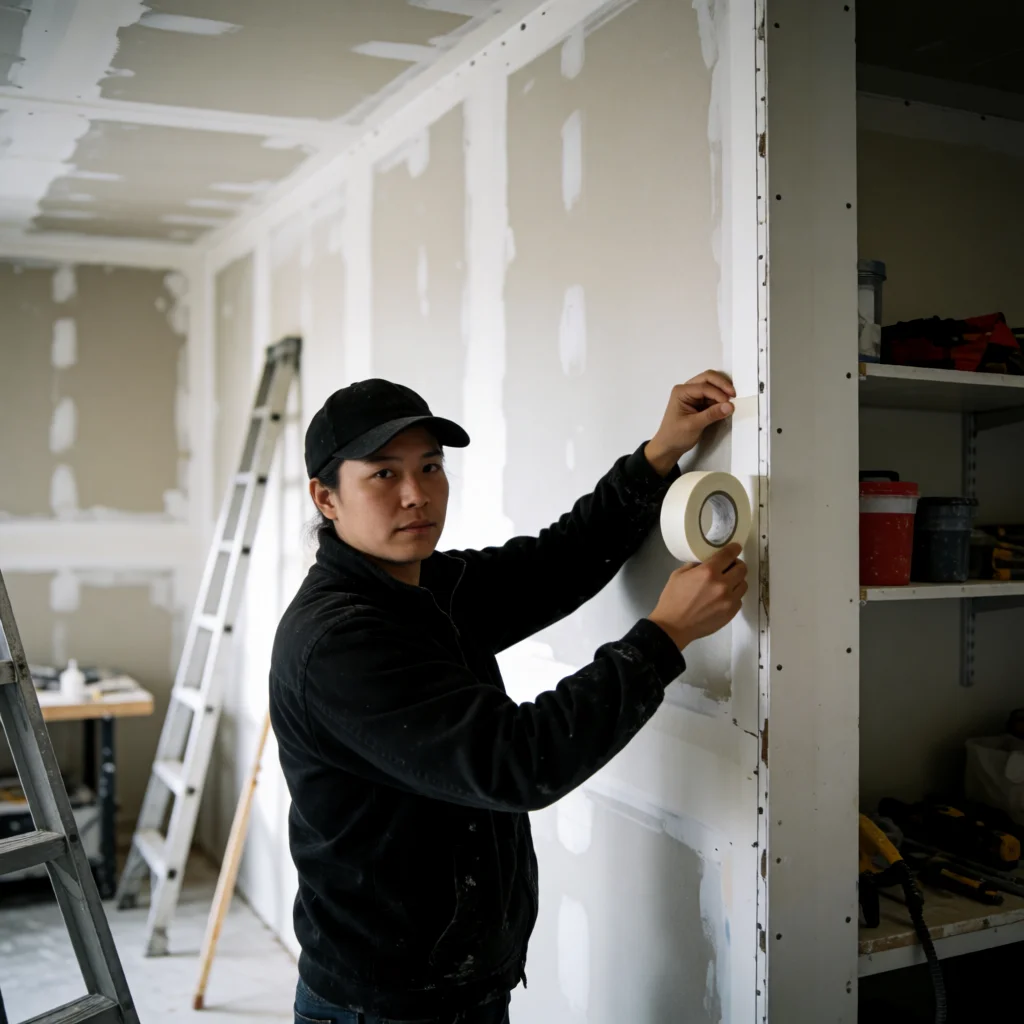
Tape It: For seams, press drywall tape (paper or mesh) firmly into the wet mud. Mesh tape is often easier for beginners.
-
Smooth It Out: Use your joint knife to smooth out the tape, squeezing out extra mud. Make sure there are no bumps or air bubbles. For corners, use special corner tools or carefully fold the tape.
-
Dry: Let this layer of mud dry completely. This can take hours!
-
More Mud: Add another thin, wider layer of mud over the tape and screw spots. This helps to “feather” the edges, meaning it blends smoothly into the rest of the wall.
-
Repeat: You might need 2-3 thin layers of mud, letting each one dry before adding the next. Each layer should be a bit wider than the last. This is the art of mudding drywall!
How to Sand Drywall Smooth
After all the mud is dry, it’s time to make your walls feel like glass! This is crucial for good drywall finishing.
-
Get Ready: Put on your mask and safety glasses. Drywall dust gets everywhere!
-
Sand: Use a sanding sponge or fine-grit sandpaper (like 120-150 grit). Gently sand all the spots where you added mud.
-
Be Gentle: Don’t press too hard, or you might sand through the mud and mess up your hard work. You just want to make it feel smooth and even.
-
Clean Dust: Wipe off all the dust with a damp cloth or sponge. Your walls should feel super smooth!
Painting Drywall for a Perfect Finish
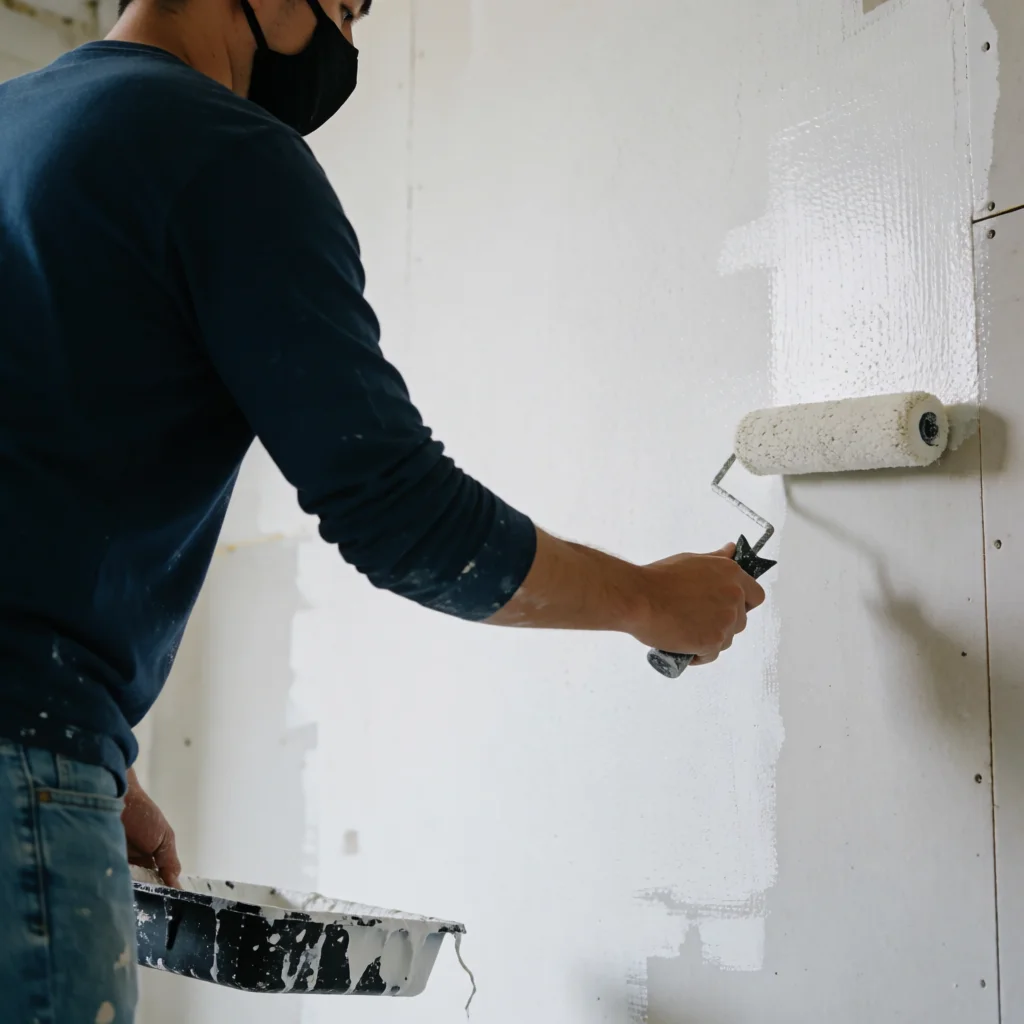
You’re almost there! Your smooth, repaired walls are ready for their new look.
-
Prime Time: Always use a primer paint first on new drywall or patched spots. Primer helps the paint stick better and makes the color look even. It stops “flashing,” where patched spots look different.
-
Paint: Once the primer is dry, you can paint your walls with your favorite color! Use good quality paint for the best look.
-
Clean Up: Make sure all the drywall dust is gone before painting, or the paint won’t stick well.
Top Drywall Tips for Beginners
Learning how to drywall takes practice, but here are some extra tips:
-
It’s Messy: Drywall work is dusty and messy. Cover floors and furniture!
-
Patience is Key: Don’t rush drying times for mud. Let each layer dry completely.
-
Small Projects First: Start with a small room or a few patches. Big jobs can be very tiring, and sometimes it’s best to hire pros for huge drywall installation tasks.
-
Thin Layers: When mudding drywall, many thin layers are better than one thick one.
-
Practice Makes Perfect: The more you do it, the better you’ll get at hanging drywall, patching drywall, and drywall finishing.
Now you know the basics of how to drywall! Go make your walls look fantastic!